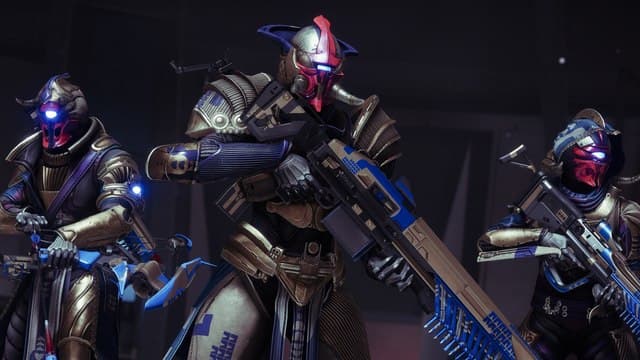
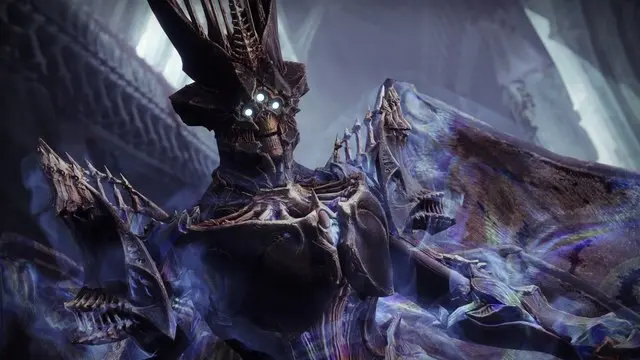
Savathun is finally here, which means Destiny 2’s highly anticipated expansion has been released. The Witch Queen has players finally confront one of the franchise’s most popular villains in her own throne world. Not only is this DLC introducing a new story, but there are also a ton of new weapons, armor, exotics, consumables, and activities for players to participate in. The Witch Queen also marks the release of the Void 3.0 update, which drastically reworks the void subclass and new exotics to build around.
There are a lot of secrets in the Throne World, some of which are tied to triumphs you’ll need to complete. One of these is the No Peeking triumph, which asks you to destroy 10 Darkness Rifts in the Throne World. To do this, you need to have unlocked the Parasite exotic first.
If you don’t have this weapon, follow our guide and come back to this page once it’s in your possession. After acquiring it, you’ll need to shoot at your feet with it to obtain the Worm Byproduct buff. This allows you to shoot the Darkness Rifts with your other weapons to destroy them. Here’s where to find all ten Darkness Rifts:
Darkness Rift Locations

1. Quagmire Darkness Rift
Your first Darkness Rift can be found in the Quagmire patrol zone. When you spawn, hop onto your sparrow and head right as if you were going to the Queen’s Bailey patrol area. Right before you pass under the massive white arch, turn to your right to see a small building (shown above) with a few Hive guarding it. Kill the enemies and head into this square structure.
Above you should be a thin line of Darkness energy — this is the rift. Equip Parasite and shoot it at your feet to grant yourself the Worm Byproduct buff. Swap to your primary weapon and shot the Darkness Rift a few times to close it.

2. Extraction Darkness Rift (Quagmire Lost Sector)
The next Darkness Rift can be found in the Extraction Lost Sector in the Quagmire. Head inside of this lost sector via the cave entrance along the cliffs and fight your way to the final boss. Once the Guardian Wizard is killed, approach the chest by the archway and equip your Parasite. Shoot your feet to get the buff, then blast the Darkness Rift right above the doorway leading out of the boss room.

3. Florescent Canal Darkness Rift
Go to the Florescent Canal patrol area and keep to the left side along the cliffs. You will see three small towers jutting out from the ramparts. Go to the middle one and walk carefully along the outer edge of the tower until you’re up against the vertical iron bars. Shoot the Parasite against the wall and blast the Darkness Rift directly across from this tower over the gap.

4. Sepulcher Darkness Rift (Florescent Canal Lost Sector)
Now go to the Florescent Canal’s Lost Sector and, once again, battle your way to the final boss room. Once the place is clear of enemies, look to the left of the chest. You should see the Darkness Rift nestled in a corner.

5. Court of Thorns Darkness Rift
From the Florescent Canal, head to the large white keep along the right side of the patrol zone. Go up the stairs and follow the path along the long bridge that leads towards Savathun’s palace (shown above). You will meet hostile resistance along the bridge, but you shouldn’t have any trouble dealing with the small groups of Hive.

Here’s where things get tricky. This Darkness Rift is currently bugged and doesn’t visually appear. However, you can still destroy it if you shoot in the right place while under Parasite’s buff. You will need to shoot along the right side of the spike sticking out of the wall (circled above). Since you’ll need to spam shots along the right side of that spike until you get a damage number, you’ll most likely need a Scout Rifle. One bullet should be enough to close the rift, so just spam shots in the circled area until it pops.

6. Queen’s Bailey Darkness Rift
We aren’t done with this area yet, so go back to the Florescent Canal and head north towards Queen’s Bailey. If you’ve been doing the Fynch experience farm, then you should be very familiar with this area by now.

Head down the long staircase to the courtyard filled with Hive enemies. Kill the ones directly in front of you and then look to the left. You should see two Hive statues praying, and the Darkness Rift floating between them. Use Parasite once more to get your buff and blast this rift into pieces.

7. Miasma Darkness Rift
The next Darkness Rift is in the Miasma area to the north, so fast travel back to the Quagmire and follow the route towards this location. Once you arrive, keep to the left side of the patrol zone until you find a small road leading to a large Hive temple. There are usually two Hive Guardians standing watch, so kill them and then approach the stack of crates on the right. You should see the Darkness Rift along the boxes shown above.

8. Metamorphosis Darkness Rift (Miasma Lost Sector)
Oh look, another Lost Sector you need to pillage. Go to the Metamorphosis Lost Sector in the Miasma and battle your way to the boss room one last time. After you kill the Scorn enemies, open the chest and look at the gravity lift. You need to ride it up to the top and shoot the Darkness Rift before you pass by it. Don’t worry, you can always ride the lift up again if you miss it. Fire the Parasite at your feet before quickly going up the lift. At the apex of the lift, look towards the floor below to see the rift you need to shoot.

9. Temple of the Cunning Darkness Rift
It wouldn’t be a Destiny 2 collectible if you didn’t need to run through an area for 15 minutes to find it. This one is pretty annoying and easy to get lost in if you haven’t ventured into the depths of the Hive temples. Go back to the Quagmire, cut through the middle, and look for a massive underground cave entrance on the left. You should see a bright orange lantern right outside of the entrance. If you are having trouble, you can see the path I took on the map above.

Follow the tunnel system until you reach the Temple of the Wrath. You will eventually emerge in a large room with a darkness portal hovering over a raised area on the right. Go through the portal and then take a left down the hill. In the distance, you should see a bridge leading to a doorway on the right. Head in that direction, cross the bridge, and follow the long tunnel system. From here, it’s a straight shot to the Temple of the Cunning, so just keep going through rooms until you emerge above the massive bridge from the story mission.

The Darkness Rift is down along the cliffs to the right of this large bridge. Jump down and head towards the area shown above. Be careful because there are a lot of Hive and swinging lanterns that can kill you. Once you reach the cliffs (shown above), look up and the Darkness Rift will be nestled on a small ledge a few meters over your head. This one can be hard to shoot from the ground, so climb up the side of the rocks to get a better vantage point.

10. Altar of Reflection
The final Darkness Rift is in the last room of the Altar of Reflection. This area is accessible via the different Altar of Reflection side quests in the Throne World or via The Mirror campaign mission. Regardless of which method you choose, make your way to the very end where you typically get some story info from Savathun. To the left of the center display, you will see the last Darkness Rift floating over the pit below. If you’ve been following my guide, then destroying this will complete the No Peeking Triumph. Just make sure to turn it in via the Triumph page!


