Destiny 2 Season of the Splicer is here and it’s time to elevate your fashion game. Along with new weapons, a 6 player activity, armor, story missions, and season pass, the heavily requested armor transmogrification feature is finally arriving. In this season, players will team up with the Fallen Captain Mithrax to stop the Vex from plunging Earth into total darkness. For those looking to dive into the story content, a new mission called Expunge is available today. Not only will this further Season 14’s core plot, but it’s tied to a Weekly Challenge making it more than worth your time playing.
How to Unlock Expunge
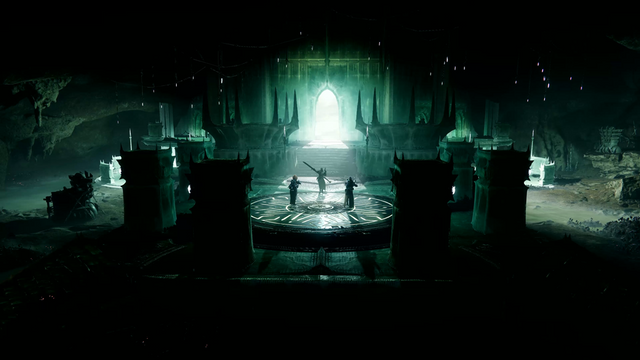
To unlock Expunge you need to first complete the weekly Override mission handed out by Mithrax’s Servitor in the H.E.L.M. You’ll be tasked with completing an Override mission on The Tangled Shore and opening one of the locked chests at the end. Make sure to have at least one Key Code available in your gauntlet before the activity ends. Once you open up the Conflux Chest, return to The Tower and speak to the Servitor again. Instead of wrapping up the quest like it did last week, Mithrax will send you out on a mission. Open up your Tangled Shore Destination map and select the green Expunge mission marker on the left.
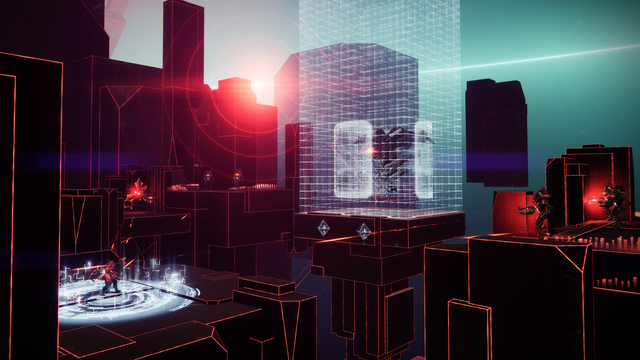
This mission is set at 1290 Light and will feature Barrier Champions, so make sure you have some way to deal with them before starting. As for the quest itself? It’s actually pretty fun! There’s a great mix of puzzle-solving, platforming, and some combat areas. While this is nowhere near as difficult or complex as Presage, Expunge is a decent challenge if you’re not great at traversing across platforms in Destiny 2. However, you will want to master this mission, as there’s a challenge tied to beating Expunge in under 10 minutes.
More Destiny 2:
- Destiny 2 Found Verdict Guide – How to Get It & the God Roll
- Destiny 2 Eyes on Atheon Guide – How to Beat the Atheon Challenge
- Destiny 2 Decrypted Data Guide – How to Get Decrypted Data
Now, this may sound difficult, but it’s actually rather simple. The first thing you’ll want to do is unlock the Codestrider, Signal Booster, and Wire Walker Splicer Gauntlet upgrades. Not only will these make some of the paths much easier to traverse, but you can open up entire shortcuts through areas. This isn’t 100% needed, but it will alleviate a lot of headaches during the first half of this mission. For your loadout, I recommend bringing a scout rifle, grenade launcher, and Xenophage. The grenade launcher with the Breach and Clear mod can make taking out any difficult a simple task, while Xenophage can burst the detainment bubbles quickly so you’re not stuck.
Additionally, you’ll want to run a Super that you can nuke the boss’s health bar with. So Chaos Reach, Golden Gun, or Thundercrash. Save your Super for after you unlock both terminals via the dropped orbs from the Harpies. This will lower the boss’s shield and give you more than enough time to absolutely melt the giant minotaur. Also consider bringing a few friends, as they can make this entire section much easier.