The Journey is a new Destiny 2 Exotic quest that rewards the Xenophage machine gun. Bungie launched it alongside this year’s Festival of the Lost events and an all-new three-player dungeon: Pit of Heresy. It’s a long, winding, and puzzle-y road to this new Exotic, however. So let’s take a look at how to get it!
To First Begin: Go to the Pyramid Overlook
To begin this quest, you need to go the Pyramid overlook from the Shadowkeep campaign. Ideally you can just take the portal right next to Eris. If that’s not open, you have a few options. Complete Eris’ weekly mission or head to Sorrow’s Keep and keep to the left, heading through an opening and walking down the cave. You’ll have a chance to jump up on your right which will get you to the same area.
Interact with all four of the Hive statues and a chest will spawn. Open it to get The Journey quest.
More Destiny 2 Shadowkeep Content:
- Destiny 2 Festival of the Lost 2019 Guide – Triumphs, Eververse, Mask Ornaments
- Destiny 2 Best Hunter Builds for Season of the Undying
- Destiny 2 Best Titan Build for Season of the Undying

Step 1: Go to the Anchor of Light
Now we have the quest. The first step of the quest asks you to simply emerge from the dark. It’s time to head to the Anchor of Light.
Around you…darkness. If you are to discover your path, you must anchor yourself to the light.
Step 2: Become the Torch Bearer
You’ll find a ball of light somewhere in the Anchor of Light. Pick it up. You’ll need to rush around to all ritual plates (shown in the image below) before your “Torch Bearer” buff runs out. Anyone in your fireteam can do this and complete it for everyone, so long as they have the quest step. We recommend placing them at two of the points beforehand to make the process easier.
Thanks to the RaidSecrets subreddit for the map showing the plate locations!

If you’re still having trouble finding the plates, here are some step-by-step screenshots! Make sure to begin your journey in the Fallen-infested base on the western edge of Anchor of Light. That’s where you’ll find the ball of light — inside a Hive altar hidden within the lower level of the Fallen base.

This first screenshot will show you what we mean. The rest will point you to the plates. Remember that the Torch Bearer buff does not begin ticking down until you activate the first plate! It will also reset to a full 60 seconds every time you touch a plate. That makes this plenty easy to do solo. For the rest of the steps, check out the gallery below!


Step 3: Pathfinder
Find Path Fragments in Archer’s Line, Sorrow’s Harbor, the Hellmouth, and Anchor of Light. After beating each boss, the Lost Sectors in each of these zones will have Hive runes on one of their walls. The three-by-three grid (shown in the next image) contains one of three different Hive runes. One rune will be above the grid. You want to make all nine tiles match that one rune. Shooting a rune will cause all runes in the same column and row to rotate to the next rune.
The proper rotation order is: Five Lines → V Shape → Up Arrow → X Shape
Now we come to the solutions. Keep in mind that these solutions only work on a completely untouched set of runes. If you mess something up, leave the Lost Sector and go back in to reset.
- K1 Communion (Anchor of Light): Bottom Left, Bottom Right, Top Middle, Top Middle.
- K1 Logistics (Archer’s Line): Top Left, Bottom Left, Center, Middle Right.
- K1 Revelation (Sorrow’s Harbor): Middle Left, Center, Center, Middle Left, Middle Top, Middle Bottom, Center, Middle Right.
- K1 Crew Quarters (Hellmouth): Top Right, Middle Left, Center, Bottom Middle, Bottom Right, Bottom Right, Bottom Middle, Bottom Middle.
Tip: You can shoot a single rune four times to completely rotate it and undo what you just changed.

Step 4: Path Uncovered
After solving all four puzzles you’ll get the next quest step. It asks you to uncover the path “beneath a harbor built from sorrow.” Based on the below, it’s obviously somewhere in Sorrow’s Harbor.
Your path brightens, shining through the barrier of emerald, beneath a harbor built from sorrow.

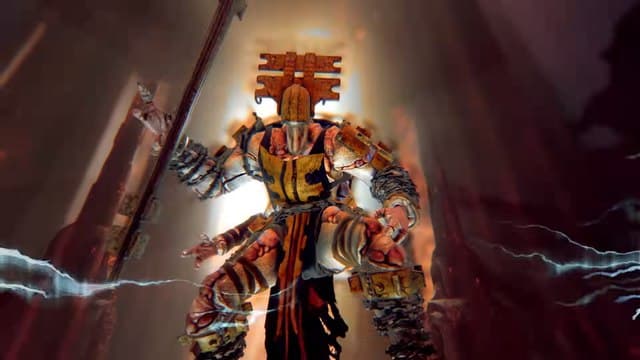
Head into the new dungeon, Pit of Heresy, and before you complete the first combat encounter, go to the buildings on your left and right. They should be a bit higher than the structures around them and lack Hive symbols. There are glyphs like the ones above, however. Shooting them causes a Knight to spawn, which you must kill.
Now complete the first encounter. Afterwards you’ll see a wall of doors. One of them won’t have a symbol on it. Go to it and interact with the Hive rune!
After this a series of elevators will appear by the cliffs. (We’ll get video of this when we can.) This is by far the most complicated part of the puzzle, since it covers a large area. There’s a plate you’ll need to stand on which will raise three platforms. Two of these platforms will give you balls of fire. Once you have both, bring these to the fire pits on the side of the tunnel. You can slam the balls on the plates, opening the door.
For step “13”, you have to go to the cliffs by the Pariahs, drop down, then go near the edge to a small plate. Standing on the plate brings up three platforms that give you a light – it has no timer. Bring the light to a door with firepits along the side of the tunnels. That’ll open up the final boss.
You need to keep navigating throughout the dungeon to find more balls of light. The catch is that there are multiple invincible Ogres roaming around hunting you down.
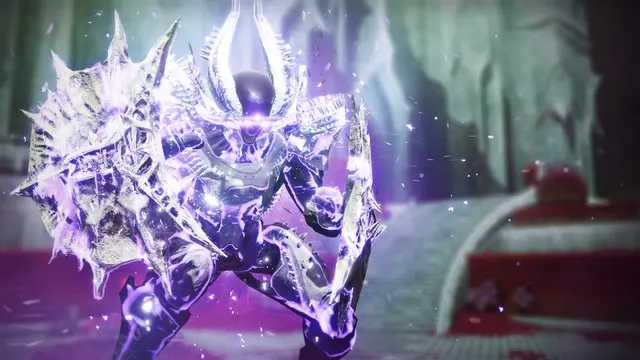
Step 5: Final Boss
The last room has an invincible wizard. There are four elemental orbs around the arena. Each corresponds to an element with an associated color. Blue is Arc, orange is Solar, purple is Void, and white is Kinetic. Each has an associated dread name like “Treacherous Dread” for Arc or “Fiery Dread” for Solar.
When you pick up these orbs, you need to bring them to corresponding plates. There should be a matching symbol above the orb. This tells you which plate to slam it into. Once you finish the dunk, you’ll be able to damage the boss with that element. For example, if you slam the Arc orb, you can deal Arc damage to the Wizard.
Once you’ve done this you bring the bug back to Eris and get Xenophage!
Looking for more Destiny 2 information? We have guides for just about everything you could want. Still need Deathbringer? Maybe you need a good Warlock build? Or maybe you’re just not sure what Crucible weapons you should be using?