Destiny 2’s next major expansion is less than a week away, and there’s a new story mission for players to complete that acts as an epilogue for this season. Titled “Severing the Worm,” this sees six players heading into something similar to the Astral Alignment activity. While there’s no unique loot tied to this quest, players can get some 1330 level gear and get a new cutscene showcasing Mara Sov’s exorcism of Savathun. Here’s how to unlock, start, and complete this new quest. You only have a week to do it, so make sure to log in before The Witch Queen launches next Tuesday!
How to Start Severing the Worm
You can only start this quest on a character that has completed all of the other story missions for this season. This means that if you haven’t been completing the quests given out by Mara Sov, you won’t be able to participate in the event. That being said, if you are up to date on everything, just go to the H.E.L.M. and interact with the seasonal terminal. Picking up the Serving the Worm quest will let you access the Exorcism activity. This is a six-player activity with matchmaking and has a recommended Power of 1270.
How to Complete Exorcism
For this activity, the only gear I recommend equipping is something to deal with both Unstoppable and Barrier Champions. I found that Barrier Champions spawn far more frequently than Unstoppable, so the Arbalest exotic is a fantastic choice. That being said, there are six players, so you shouldn’t need to worry too much about dealing enough damage to enemies.
Your first goal will be to align three beacons in the Blind Well room. These are all protected by Hive enemies and Shriekers hovering over them. Destroy the Shriekers first and then send two Guardians to capture each of the three points. You will have multiple waves of Hive attempt to force you off, so use your best mob-clearing weapons and make sure to focus on the Champions when they spawn. While enemies don’t do a ton of damage, there are a lot of them, so it’s easy to be quickly overwhelmed. Once all three beacons are aligned, you’ll be transported to a large arena previously used in other Astral Alignment encounters.
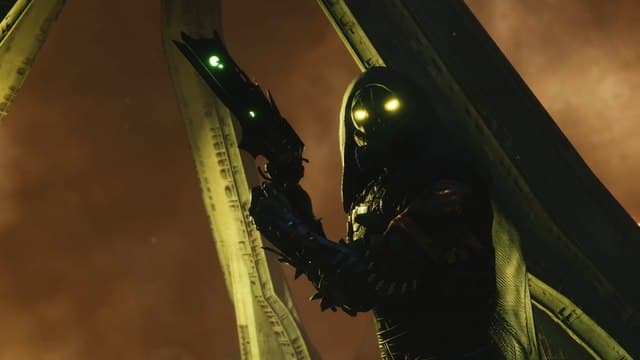
Run across the long bridge towards the tower (and make sure to look up at the tower for a surprise!) towards the entrance. You’ll encounter multiple Hive ships, so be ready for a fight. Upon arriving, you just need to aid the Awoken soldiers in defending the entrance from Xivu Arath’s forces for a few minutes. This shouldn’t be much of an issue — especially since you can just chain your Supers to obliterate any Champions that arrive via the dropships. Once everything is clear, head inside and watch as Mara Sov begins the ritual.

As the ritual begins, Xivu Arath will launch a final wave of enemies at you, including two of the bosses from the previous Astral Alignment. Thankfully, Saint-14 has decided to help with an infinite Ward of Dawn bubble in the center of the room. Stepping into this gives you the Weapons of Light buff, increasing your damage and acting as a safe area in case you take too much damage. The key to this encounter is constantly refreshing your damage buff via the bubble to ensure you can quickly wipe out the nearly endless stream of Hive enemies.
When the fight starts, Kruutiks, Reefbane will transport to your floor and begin spawning clones of herself. Just like in the Astral Alignment, you’ll need to figure out which one is the real Trickster to deal damage to this boss. Thankfully, she won’t regain any health from ether, so you can go a bit slower this time. When she hits about half health, a big Taken Ogre will spawn behind Savathun’s crystal and charge at you. Focus on killing the Ogre first before resuming your fight with Kruutiks. Once both are defeated, a final boss called Kelgoth, Risen From Bones will arrive. Damage this foe until it becomes immune and then begin wiping out all the enemies around him.
There’s a very good chance your team just murders this boss before anything happens. But if you see that the enemy is gathering Taken Energy, shoot the orb spawning behind the boss. Eventually, this will cause Kelgoth to warp to the other side of the room where you can finish him off. Once defeated, a cutscene will play and then you will need to speak to both Mara Sov and Saint-14 to complete this quest.


