Welcome to the first raid of the Final Fantasy XIV: Endwalker patch cycle! Seeking answers about a mysterious crystal found in the aetherial sea, the Warrior of Light heads back to Elpis. There, you investigate Pandaemonium, where the unsundered scientists kept their worst creations all under the watchful gaze of Lahabrea. Why is that name familiar?
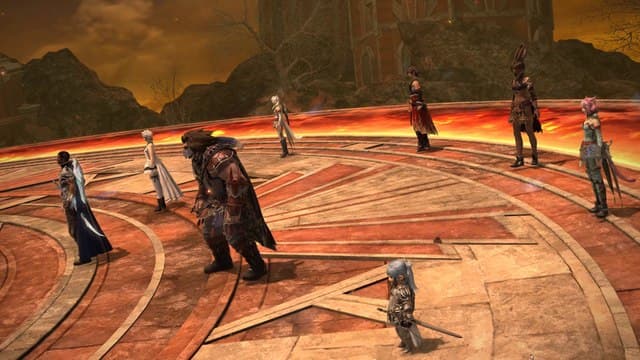
Each encounter in Asphodelos is a single fight, similar to a trial. Your first fight is against a warder, one of the scientists tasked with keeping the creations at bay. You’ll fight within a square arena — and you should be warned that its edges are instant death.
Be also warned that raid guides contain spoilers. If you prefer to preserve the surprise of raids for yourself, give them a try first before referring to a guide. Then, come back here for some help if you have trouble!

How to Defeat Erichthonios – Phase One
The chains of Erichthonios will seek to bind you. Phase One shows you the basics of the boss’ moveset, which will be built upon after Phase Two.
- Gaoler’s Flail: When the boss begins to cast this, it’ll start spinning a hooked chain on either its left or right arm. When the cast is done, it will attack that everything on that side of itself with a massive cleave.
- Warder’s Wrath: This is the raid-wide AoE. Healers, be prepared to heal through it.
- Pitiless Flail: The boss will target one raid member at random with a line AoE. Move away from the rest of the raid. This will be followed by a stack marker. Stack up to share the damage of True Holy.
- Heavy Hand: This is a single-target tankbuster on the primary tank. Tanks, use your cooldowns.

- Intemperance: This is one of the boss’ primary mechanics. The arena will be divided into four quarters, with each having a three stack of random blue or red icons. You’ll also be hit with one of two debuffs, either Hot Spell or Cold Spell. You want to remove this debuff by taking a hit from the opposite element, as getting hit with the same element will do hefty damage. Then the boss casts…
- Intemperate Torment: The quarters will explode three times, starting with the icon on the bottom and working their way up. You need to alternate debuffs to survive. You cannot be in the area between the quarters when they explode, or you’ll get hit with Painful Flux and die immediately.

Phase Two – Shining Cells
You’ll begin the phase shift when the boss starts to cast Shining Cells.
- Shining Cells: This splits the arena into two concentric circles divided into eighths, with each section being either red or white. (Teal?)
- Aetherchain: Orbs of either red or white will begin swirling around the boss during this cast. Once the cast is done, the sections that match the color of the orbs will explode with Powerful Light, dealing a good chunk of damage. Stand in the opposite sections to avoid damage.
- Aetherflail: This combines the full-side cleave of Gaoler’s Flail with the orbs of Aetherchain. Move away from the side with the spinning chain while also avoiding the sections that match the orbs.
- Slam Shut: This marks the end of Phase Two and the return to an enhanced Phase One.
Phase One Enhanced
In this phase, Erichthonios will begin to use attacks back-to-back. So you might be in the middle of Intemperate Torment, only to see a Gaoler’s Flail, limiting you to two of the four quarters. Alternatively, you’ll get subsequent attacks, like two Warder’s Wraths back-to-back. Survive this and you’ll move back to Phase Two. At this point, you’re just flip-flopping between both phases until the boss is down.
Congratulations, you’ve finished the first circle of Pandaemonium Asphodelos. Are you prepared for the second? Our guides will help you polish off all four circles of this raid wing in no time.
If you need help getting prepared for the Pandaemonium raids, be sure to check out our Tomestone of Aphorism and endgame gear guide. And if you want to get different Jobs to level 90 and raid-ready, you can use our fast leveling guide for alternate Jobs. Pandaemonium isn’t the only endgame content available in Endwalker, so make sure you’ve unlocked and played through the optional level 90 dungeons Smileton and The Stigma Dreamscape.
Here’s our guides for the other circles as well: