Games
Articles
Game Hubs
Final Fantasy XIV
Destiny 2
Infinite Craft
Genshin Impact
Sims 4
Minecraft
Pokemon
Elden Ring
0
Comments
FINAL FANTASY XIV
GUIDES
PUBLISHED
UPDATED
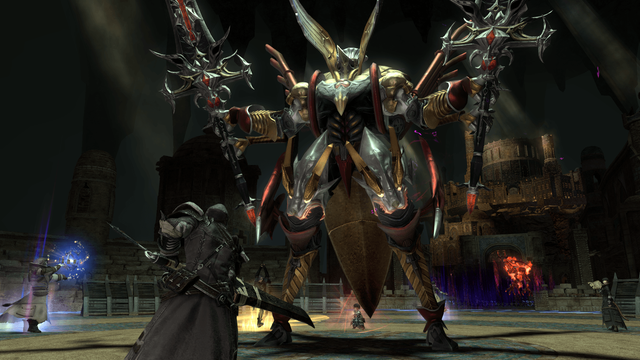
FFXIV Raid Guide: The Weeping City of Mhach
Step through the ruins of another dead civilization.
Mike Williams
Let us know what you think
See what others are saying
0
Comments
About the Author
Mike Williams
0 Comments
Newest
Filed Under
FFXIV Calendar
Discord Webhook
Housing Lottery
Fall Guys Event
Aloalo Island Routes
OTHER TAGS
Final Fantasy XIV
Related Posts
FFXIV Raid Guide: The Void Ark
Mike Williams
FFXIV Relic Weapon Guide: Augmented Law's Order
Melanie Maguire
FFXIV Anima Relic Weapon Guide: Aetheric Density 2022 Values
Mike Williams