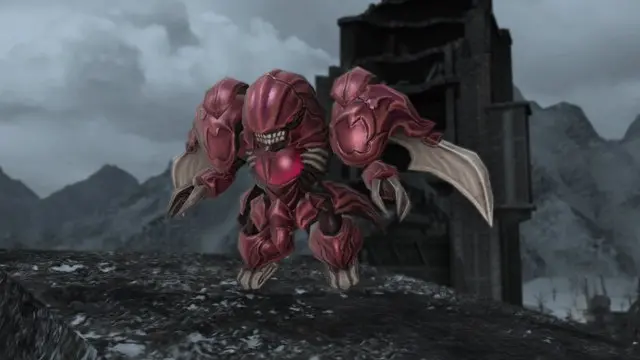
It is now time to face the lord and master of the Void in Final Fantasy XIV. Golbez’ generals have each fallen to the Warrior of Light and now only he remains. Are you up to facing against the Knight in Black and his shadowy companion?
Golbez is a two-phase boss fight on a square arena. There is no boundary, so Red Mages and Dragoons should take care not to accidentally leap off to their death. Be warned that trial guides naturally contain light spoilers. If you prefer to preserve the surprise of trials for yourself, give The Voidcast Dais a try first before referring to this guide. Then, come back here for some help if you have trouble!

How to Defeat Golbez – Phase One
This is not really a phase, per se. Many of the attacks present here are carried forward into the next section of the fight. Think of this more like Golbez’ opening round, before a phase transition to the rest of the fight.
- Terrastorm: Golbez summons a meteor from the center of the area, which floats to one edge. The meteor then crashes down on that edge in a large circle AoE.
- Crescent Blade: The boss cleaves half of the arena in the direction he’s holding his sword. Stand cape-side to avoid this damage.

- Arctic Assault: Golbez divides the arena in half and summons a wall of icicles facing in two different directions. The icicles will face outward in the direction of attack. The party should be on the opposite side of the wall from the outward-facing icicles to avoid this attack.
- Void Meteor: This is a tankbuster on both tanks, with a large circle AoE as well. This will hit each tank with four smaller Void Comets, before dealing the final Void Meteor. Tanks need to spread out, use their cooldowns, and stay still until the attack is over.
- Lingering Spark: A successive series of circle AoEs spawn underneath four members of the party. Those members should move to different sections of the arena to avoid stacking the AoEs, and keep moving to avoid each successive hit.
- Binding Cold: A party-wide AoE hit for around 60 percent of non-tanks’ health. Healers, be prepared.
How to Defeat Golbez – Phase Two

This is where Golbez puts his foot on the gas and starts making new combinations of various attacks.
- Azdaja’s Shadow: The first cast of this comes when Golbez’ health is at 80 percent and marks the phase transition. Golbez will immediately follow this cast with…
- Black Fang: This is a multi-hit party-wide AoE. Heal up, shield up. After this, Azdaja’s Shadow enhances the basic attacks from Phase One.
- Shadow Crescent: This is Crescent Blade, but after the cleave, Golbez marks five members of the party with a circle AoE called Burning Shade, forcing those members to spread out to avoid stacking the damage. He’ll also cast a wide circle AoE around himself called Rising Beacon.

- Dragon’s Descent: Golbez marks one party member with a knockback marker. He also creates two regions on the battlefield that both need to be soaked by the correct number of players: one region one requires one party member, while the other will require three. The marked player should position themselves on the edge, and the rest of the party should move so that when the knockback from Dragon’s Descent happens, they’ll be knocked in or near the soak regions to take both Explosions. This will be immediately followed by…
- Double Meteor: Two corners will be marked with proximity markers. You want to be on the opposite side from both markers to minimize damage, but also be cognizant of the Shadow Dragon, who will attack in line AoE that cuts off one side.

- Gale Sphere: When Golbez finishes casting this move, he’ll summon four shades of himself to each side of the arena. You need to pay attention to the order in which these shades are summoned. Each shade will summon a wall of green spheres, with a safe area three spheres wide. They will then attack in succession, in the order they were originally summoned. You’ll need to move in the safe spot for each attack. Each hit of Gale Sphere adds Vulnerability Up, so if you’re not paying attention, this can easily kill you.
- Void Stardust: Golbez summons larger circle AoEs at opposite corners of the arena. These markers will then trace two paths across the arena. Once this is down, there will be a series of quick explosions along the traced paths. It seems complex, but it’s pretty easy. Wait near the first circle AoE markers and then move into the safe space created by them after they pass.
- Evertide Fall: As Golbez casts this, he’ll mark two party members with Line Stack markers. These party members need to separate and the party should split so that four party members are there to share damage.
- Immolating Shade: A single Stack marker on one member of the party. Everyone needs to stack on this person to share the damage.
From here, Golbez will cycle through all existing attacks from both phases. It’s a lot, but you can do it if you pay attention.


