Released in Patch 6.3: God’s Revel, Lands Tremble, The Omega Protocol (TOP) is the fifth ultimate raid in Final Fantasy XIV. This is the hardest category of content in the game, where players are truly challenged on their skill, consistency, and knowledge. Players will be expected to bring their best gear, consumables, and coordination to all of this content.
How Do I Unlock The Omega Protocol?
After completing the Abyssos: The Eighth Circle (Savage) raid, speak with the Wandering Minstrel in Old Sharlayan (X: 12.7, Y: 14.2) as a Level 90 Disciple of War or Magic. The item level (ilvl) sync for this fight is 635 — which is currently unattainable as of Patch 6.31 but will become available after Patch 6.4 adds new gear.
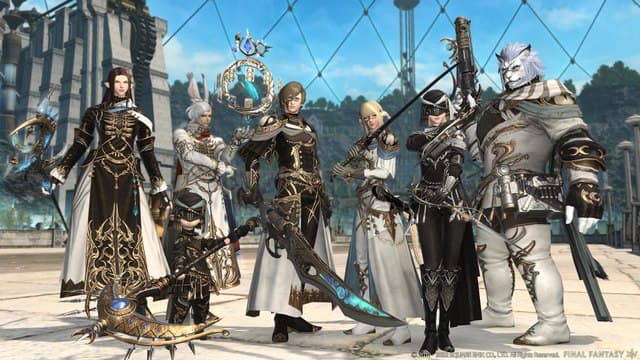
FFXIV Omega Protocol (Ultimate) Rewards
Upon completion of the duty, players will receive an “Omega Totem.” This can be exchanged for weapons that are ilvl 635 and have special visual effects to show off your accomplishment. You can purchase them from Nesvaaz in Radz-at-Han (X: 10.6, Y: 10). Keep in mind that totems can only be claimed once per week!
Additionally on their first clear, players will receive the title “The Alpha Legend” and unlock a new Adventurer Plate design.
How Should I Prepare for The Omega Protocol?
It’s very important that you bring the best food and tinctures (a.k.a. potions) available for your class. Keep in mind that these will change as new patches come and go and will vary by class. For example, a Dragoon as of Patch 6.31 will use a Grade 7 Tincture of Strength and Carrot Pudding HQ.

Furthermore, having the right set of waymarks during this fight goes a long way towards improving your progression and making mechanics easier — for both you and your teammates. If you have access to the tools to place waymarks with coordinates, I advise using the following:
{“Name”:”Omega”,”MapID”:908,”A”:{“X”:100.0,”Y”:0.0,”Z”:87.0,”ID”:0,”Active”:true},”B”:
{“X”:113.0,”Y”:0.0,”Z”:100.0,”ID”:1,”Active”:true},”C”:
{“X”:100.0,”Y”:0.0,”Z”:113.0,”ID”:2,”Active”:true},”D”:
{“X”:87.0,”Y”:0.0,”Z”:100.0,”ID”:3,”Active”:true},”One”:
{“X”:109.199,”Y”:0.0,”Z”:90.8,”ID”:4,”Active”:true},”Two”:
{“X”:109.199,”Y”:0.0,”Z”:109.199,”ID”:5,”Active”:true},”Three”:
{“X”:90.8,”Y”:0.0,”Z”:109.199,”ID”:6,”Active”:true},”Four”:
{“X”:90.8,”Y”:0.0,”Z”:90.8,”ID”:7,”Active”:true}}
The Omega Protocol Phases
Looking for our guides on each specific phase? Click the links below.
- Phase 1 – Omega Beetle Form
- Phase 2 – Omega M/F Form
- Phase 3 – Omega Reconfigured
- Phase 4 – Blue Screen
- Phase 5 – Run: Dynamis
- Phase 6 – Alpha Omega
Still stuck or need to help finding folks to beat the FFXIV Omega Protocol raid? Try out these Discord links!