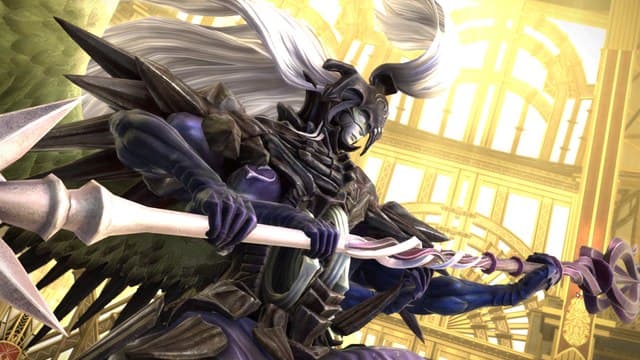
You’ve triumphed over the Ninth Circle of Pandaemonium: Anabaseios, so now it’s time to face the next. In the Tenth Circle, the very walls of Ancient prison spring alive. That’s right, this fight is against the eponymous Pandaemonium itself.
This fight is a bit unique. The boss primarily stands in a space the party cannot access. The party stands on a center square platform, with another platform to the left and right. These secondary platforms are only accessible during certain parts of the fight.
Be warned that raid guides contain light spoilers for the fight. If you prefer to preserve the surprise of raids for yourself, give them a try first before referring to a guide. Then, come back here for some help if you have trouble.

How To Defeat Pandaemonium
- Silkspit: This is one of the primary fight mechanics. The boss marks three party members with wide circle AoEs. When these AoEs resolves a few seconds later, they will tether the marked players to anyone within the AoEs, to other marked players within range, or to the posts connecting the center platform to the outer platforms. The best place for the marker players to stand is on the edge of the platform away from the boss, with enough space away from each other. The marked players will take damage from Silkspit, but the real issue is the Binding Soul Snare, which will prevent tethered players from moving.

- Pandaemoniac Pillars: The boss will mark the central platform with six pillars that need to be soaked by a player each. The initial attack, Bury, only does a slight bit of damage. After this, there will be one of two attacks around each structure. If you see spiked chains, this means each pillar will explode in a small circle AoE. If you see angel tumors with disco lasers, this means there will be a small donut AoE around each pillar. Standing in the non-pillar areas will be safe regardless of which attack appears.
- Ultima: A standard party-wide AoE. Heal through it.
- Pandaemoniac Meltdown: A single party member is marked with a Line Stack. Stack up to minimize damage.
- Soul Grasp: A mega tankbuster Stack Marker on one tank. Both tanks need to stack up and use cooldowns. Do not move, because Soul Grasp hits four times in succession.
- Entangling Web: The boss marks a number of circle AoEs around the central platform. Don’t stand in them unless you want to be tethered in place. This attack will create web bridges to the secondary platforms. It will also be followed by Silkspit, but with the additional platforms, it’s much easier to spread out.
- Pandaemoniac Ray: The boss will cleave half of the arena, depending on the direction its head is facing during the cast. Stand on the other side to avoid damage.

- Parted Plumes: The boss marks the battlefield with a circle AoE and then several cone AoEs radiating out from it in succession. Stand near the first cone AoE that appears, then move to the safe space once that attack resolves.
- Touchdown: The boss marks the central platform with a growing circle AoE. Thanks to Entangling Web, the central platform will be tethered to one of the secondary platforms. Move across the web bridge to the secondary platform to avoid damage.
- Harrowing Hell: This is the one that can kill if you’re not healed up. Once the cast finishes, the boss hits the arena eight times. Each hit doesn’t hurt that much, but together, it’s a good bit of damage. After the eighth hit, the boss will knock back the entire party. Stand near the boss to avoid being knocked off the central platform.
From here on, it’s a pretty simple fight and your loot is waiting at the end. If you need help with the other fights in Anabaseios, we have links to the guides below: