Games
Articles
Game Hubs
Final Fantasy XIV
Destiny 2
Infinite Craft
Genshin Impact
Sims 4
Minecraft
Pokemon
Elden Ring
0
Comments
FINAL FANTASY XIV
GUIDES
PUBLISHED
UPDATED
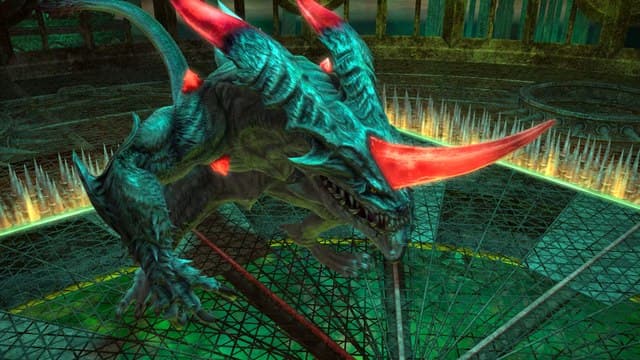
Abyssos: The Sixth Circle Raid Guide (Pandaemonium) - FFXIV Patch 6.2
That girl is poison… but you can prepare yourself for her with our second of four Abyssos raid guides.
Mike Williams
Let us know what you think
See what others are saying
0
Comments
About the Author
Mike Williams
0 Comments
Newest
Filed Under
FFXIV Calendar
Discord Webhook
Housing Lottery
Fall Guys Event
Aloalo Island Routes
OTHER TAGS
Final Fantasy XIV
Related Posts
Abyssos: The Seventh Circle Raid Guide (Pandaemonium) - FFXIV Patch 6.2
Mike Williams
Abyssos: The Fifth Circle Raid Guide (Pandaemonium) - FFXIV Patch 6.2
Mike Williams
Abyssos: The Eighth Circle Raid Guide (Pandaemonium) - FFXIV Patch 6.2
Mike Williams