Here we are in Thomas’ office. Time for some real puzzles. Take the time to check out Thomas’ desk. Marianne will let you know that someone has just been here. There’s a small key on the floor which we’ll need to proceed and a note in one of the drawers for those seeking collectibles. A framed diagram on the wall is signed by Thomas and inside a cabinet on the opposite side of the office is a blurry picture. Marianne will comment on both.

Thomas’ Office Clock Puzzle
Now it’s time for the puzzle. Walk over to the grandfather clock and use the key next to its face. Moving the clocks arms will move the otherworld through time. Feel free to stop and interact with Thomas’ echo as there are multiple occasions to do so.
Keep spinning the arms enough and a door to a hidden area will open at 7 o’clock and 5 o’clock. Either one works. At 4 o’clock, you can charge your spiritual powers at Thomas’ desk. There’s a fuse box inside that you can hit with a Spirit Blast which will alter allow you to get inside in the real world. Go over to the cabinet and use your Insight to find the button behind the picture. You can not find the button unless you use Insight.

Now you’re forced back into your real world body and locked in. Here’s where we’ll need to develop a photo again. Before that, grab a collectible note from the center of the room on the floor. There are also two books you can pick up and look at, though nothing to read on them. While you’re at it, search for the missing photography supplies including the three developers and an extra tray. They’re all in fairly obvious locations.
Put them all where they belong, once again, right to left. Each jug of liquid is labeled from one to three and in that order (right to left) in your inventory. Add them to the basins. Now develop the photo and discover some important details about your current situation.

Run For Your Life
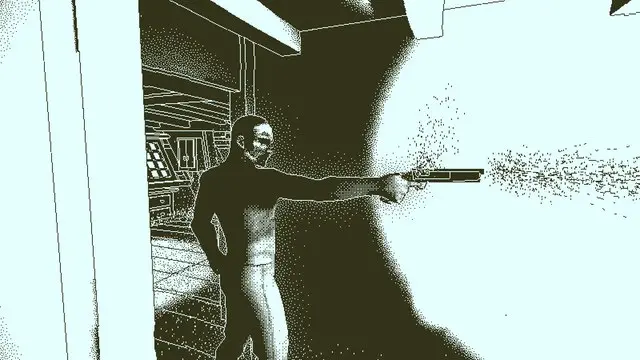
Now just start running. It’s all you can do. Try and anticipate where the bugs are going to congeal together into a wall. Eventually you’ll see a spirit well through a hole in the wall. Go there, you’ll be safe. For now, at least.
Gather some spiritual energy and keep moving forward. The game will teach you to avoid the monster here. Make sure to stay crouched as you walk and feel free to take the time to learn its patterns. It does not change walking patterns unless it detects you. Your goal is to follow it and then sneak past and into the next glowing room. Use pile of rocks and stack of crates to stay on the opposite side of the creature at all times.
Once you’re through, charge up your spirit, use the Spirit Shield to get through the bugs, head forward and fall into the next level. We’re heading back to the Niwa Hotel. Here’s the next part of the walkthrough.