Games
Articles
Game Hubs
Final Fantasy XIV
Destiny 2
Infinite Craft
Genshin Impact
Sims 4
Minecraft
Pokemon
Elden Ring
0
Comments
PUBLISHED
UPDATED
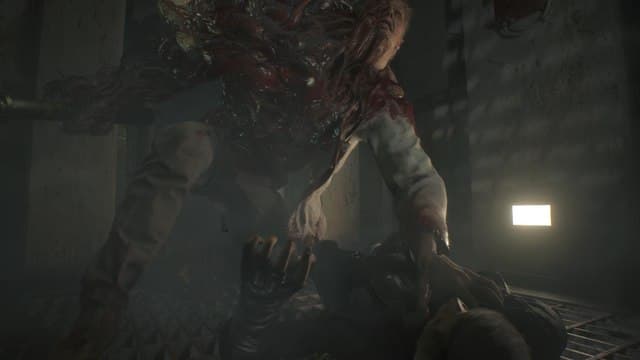
Resident Evil 2 Portable Safe Guide - Safety Deposit Room Access
Ian Stokes
Let us know what you think
See what others are saying
0
Comments
About the Author
Ian Stokes
0 Comments
Newest
TAGS
Resident Evil 2
Related Posts
Is Squall Hotter in Kingdom Hearts Than in Final Fantasy VIII?
Jordan Mallory
Resident Evil 2 G Guide – How to Beat the First Boss Fight
Ian Stokes
Using the USB Dongle to Unlock the Special Weapons Case - Resident Evil 2 Guide
Ian Stokes