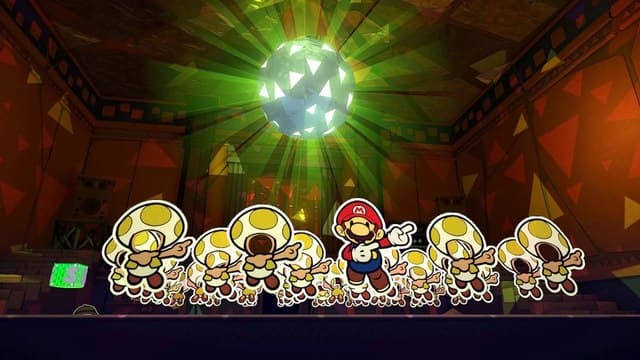
It’s time to decimate this devilish, disco dancing defiler of defaced, debased Toads.
Hole Punch is the third member of the Legion of Stationary you’ll come across in Paper Mario: The Origami King. After you gather 40 Faceless Toads, you’ll be tasked with fighting this boss to not only return their faces but return the sun to the Scorching Sandpaper Desert. Despite appearing tricky at first glance, Hole Punch is relatively straightforward and far less punishing than the Fire Vellumental. A lot of this battle boils down to smart board management, so you can hit multiple objectives at once. Broken up across two phases, here’s what you need to know to beat this evil office supply.
Hole Punch Boss – Phase One
Hole Punch’s mainboard gimmick is to, unsurprisingly, make holes in the board itself. Before each round it will crunch up 4-5 squares, making them inaccessible and even dangerous to step on. It will also punch a hole in the green ON tile, but you can step on this one. Similar to the Colored Pencils, Hole Punch is only vulnerable from behind (the black base). You can also only deal damage with your Hammer, so make sure to bring a few Flashy or Shiny variants.
When you can arrange the tiles, move across the board so you can attack from behind using either the closest or second closest tiles to the boss. Remember you can use items such as chests or notes to propel yourself forward if you go from a downward arrow tile to one of these objects. This is a great way to close the gap and ensure you can land a critical opening blow on the boss. After you deal damage, Hole Punch will live up to its name and take Mario’s face! This won’t do any damage, however, Mario’s starting Health will be cut in half.
Thankfully, Hole Punch will occasionally spit out the pieces of Mario on the board. Reclaiming them will return Mario’s lost health back, giving you way more survivability. This should always be a priority when moving around the board, as you continue assaulting the back of Hole Punch. Additionally, the green ON switch will eventually become available, so make sure to hit it. If you do activate the Magic Circles, do not step on them yet. These will be saved for the second phase which triggers when Hole Punch hits around 50% health.

Hole Punch Boss – Phase Two
After you deal enough damage, Hole Punch will begin charging up his special move. Now it’s time to go on the defensive, quickly hit an ON switch, and step onto the Earth Vellumental circle. This is the only way to nullify the attack and ensure your survival. When Hole Punch attacks it will bounce off the wall Mario is standing on, flipping it upside down. During your next turn, try to activate the Magic Circles again and use the 1,000 Folded Arm attack to absolutely devastate the boss’ health bar.
You will now repeat the process of attacking the boss from behind, collecting Mario’s punched holes, activating Magic circles, and using the Earth Vellumental to defend yourself against its ultimate move. After the boss has flipped over, you’ll need to do one more 1,000 Folded Arm attack to defeat this boss. This is a pretty simple boss fight since Hole Punch doesn’t do a ton of damage. Just make sure to always try and collect Mario’s missing pieces so you aren’t outright killed by Hole Punch’s attacks.


