5Comments

Assassin's Creed Valhalla Settlements Guide - How to Level Up, All Upgrades List

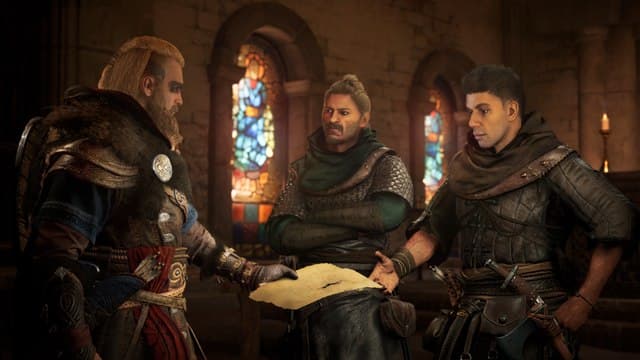
Settlements are a big part of Assassin’s Creed Valhalla. In the early hours of Valhalla, Eivor and a band of stoic vikings leave their home of Norway for rural England, and it’s here that they establish a new settlement as a home away from home. All throughout Ubisoft’s huge game, you’ll need to bolster your settlement with supplies and materials, to construct new buildings.

In this guide, we’ll walk you through everything there is to know about settlements in Assassin’s Creed Valhalla, including how to build new features and what said new features reward you with.

More Assassin’s Creed Valhalla:

How to Level Up Your Settlement – Assassin’s Creed Valhalla Settlements

Once you’re free to roam the wilderness of rural England, you’re clear to begin upgrading your settlement. To upgrade your settlement, interact with any of the plaques dotted around the local vicinity, and you’ll see the resources required to build a certain installment.

In the early hours of Valhalla, each new settlement will cost you 400 supplies and 30 raw materials. You’ll gain supplies from adventuring around the world, looting gold storage containers within enemy encampments, but the only way to earn raw materials is from undertaking raids, which are denoted by the marker made up of two red axes.

Settlement Upgrades List – Assassin’s Creed Valhalla Settlements

As for the upgrades themselves, each new installment in your settlement grants you new benefits. Below, we’ve provided a brief list of all the settlement upgrades for Eivor to install at the beginning of the game, as well as details of how each one can benefit you.

  • Hidden Ones Bureau – This upgrade allows you to kickstart the Hidden Ones storyline. Through the bureau, you’ll be able to embark on new missions for Hytham, killing the Order of the Ancients one assassination at a time.
  • Stable and Aviary – The stable allows you to manage your trusty steed, kitting it out with any cosmetic items like skins, and the same applies for your raven in the aviary.
  • Trading Post – Purchase resources and unique items. The Trading Post lets you purchase items you’d normally have to scavenge around England for. This is a really good feature if you want to upgrade some of your gear to elite levels, giving you a deadly edge in combat and raids in particular
  • Barracks – The Barracks let you manage your viking crew, but they also let you create your very own Jomsviking, an elite viking mercenary. Through this building, your Jomsviking can be recruited by other players, and in turn you can recruit their Jomsviking. It’s a great upgrade for adding some flair to your forces.

Constructing a new feature boosts the rank of your settlement, and you’ll need to build three features from the list above to increase your settlement to rank two. Once you’ve done this, the list of new features below become available to build for 600 supplies and 45 raw materials:

  • Shipyard – Customize your viking longship with cosmetics, both earned and purchased.
  • Museum – Unlocks a museum collector, with whom you can trade Roman Artifacts for material rewards.
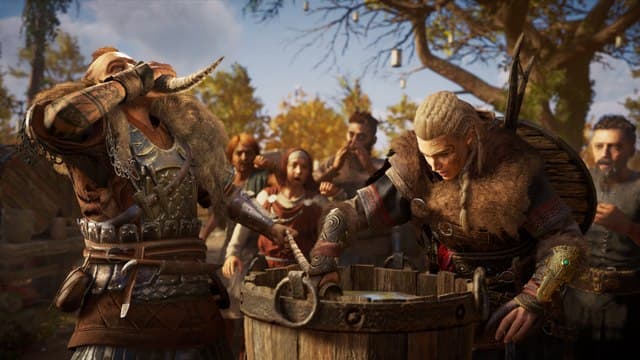
  • Brewery – Increases the Feast buff for Eivor, giving them +25 Health.
  • Bakery – A sober version of the Brewery, the Bakery also improves the Feast buff for Eivor with +25 Health.
  • Fishing Hut – Unlocks the Fishing Line for use. You can trade deliveries of fresh fish for material rewards.
  • Tattoo Shop – Equip tattoo designs and haircuts found throughout the world for Eivor here.

For settlement rank three, you’ll need to build four more upgrades, from either of the previous two lists. At Settlement rank three, you can build the features below for 800 supplies and 60 raw materials:

  • Cartographer – The Cartographer can provide you with maps to collectibles like Roman Artifacts and resources.
  • Cattle Farm – Improves the Feast Buff again, this time adding +3 ranged damage for Eivor.
  • Grain Farm – Improves the Feast Buff with a +3 bonus for Eivor’s armor.
  • Alvis and Holger’s House – Improves the Feast Buff, adding in +3.8 assassination damage for Eivor.
  • Fowl Farm – Chickens roost here, giving a +3 melee damage boost for Eivor with the Feast Buff.

How to Pledge Allegiance – Assassin’s Creed Valhalla Settlements

Back in the big viking hall, you’ll have the option to pledge allegiance to a specific territory in England. I definitely thought the vikings were more of the pillaging kind, but turns out these vikings actually quite like forging alliances in England as well.

Find Randvi standing near a large table in a room just off the great hall, and speak to her. Ask to see the table, and you’ll be faced with a map of England, divided up into territories. You can pledge allegiance to one territory at a time, and to fulfil your commitment to them, you’ll need to complete a quest line associated with the region. More territories will be available as you progress through the main story of Assassin’s Creed Valhalla. For example, you’ll only be able to pledge allegiance to Ledecestrescire and Grantebridgescire at the beginning of the game, but completing both these territories will open up Lunden, Oxeneforescire, and East Anglia.

Once you’ve pledged allegiance to an area, you need to follow through on the subsequent quest line. Pledge allegiance to another area, and you’ll reset your progress on the previous area. Note however, that pledging allegiance to one area doesn’t cut you off from pledging allegiance to another area, after you’ve fulfilled the demands of one quest line. We’d recommend committing to one area, completing the quest line, and then pledging allegiance to another area.

About the Author

Hirun Cryer

Hirun is a freelance games reporter. He can be found wasting away in front of JRPGs and being really bad at Apex Legends.